I’ll show you how dedicated center channels isolate human speech by using a three-driver configuration that separates midrange vocal frequencies between 500Hz and 3kHz from bass and treble ranges. The dedicated midrange driver handles dialogue while woofers manage lower frequencies below 250-400Hz, which prevents frequency overlap and phase interference that causes muffled sound. This separation, combined with vertical alignment of the tweeter and midrange, guarantees vocal clarity reaches your ears without the comb filtering issues found in two-way designs, and I’ll explain the specific placement techniques that maximize this effect.
Key Takeaways
- Three-driver designs use dedicated midrange drivers for vocal frequencies (500Hz-3kHz), separating dialogue from bass handled by woofers.
- Vertical alignment of tweeter and midrange ensures synchronized sound delivery, producing clearer and more intelligible speech reproduction.
- Lower crossover points (250-400Hz) to woofers prevent interference with critical dialogue frequencies, enhancing vocal clarity and detail.
- Sensitivity ratings above 87dB minimize distortion, allowing center channels to reproduce speech clearly without straining amplifiers.
- Proper placement at ear height (38-42 inches) and angling toward listeners prevents phase cancellation and ensures optimal dialogue delivery.
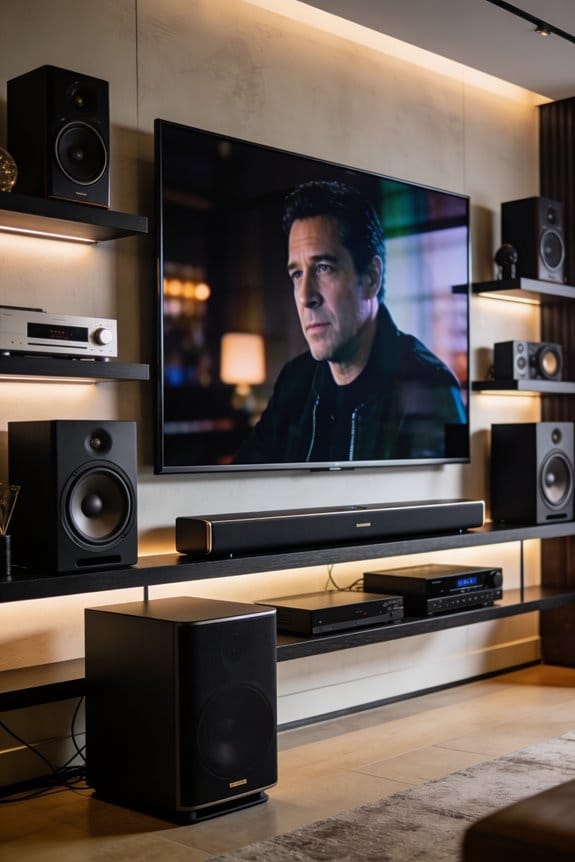
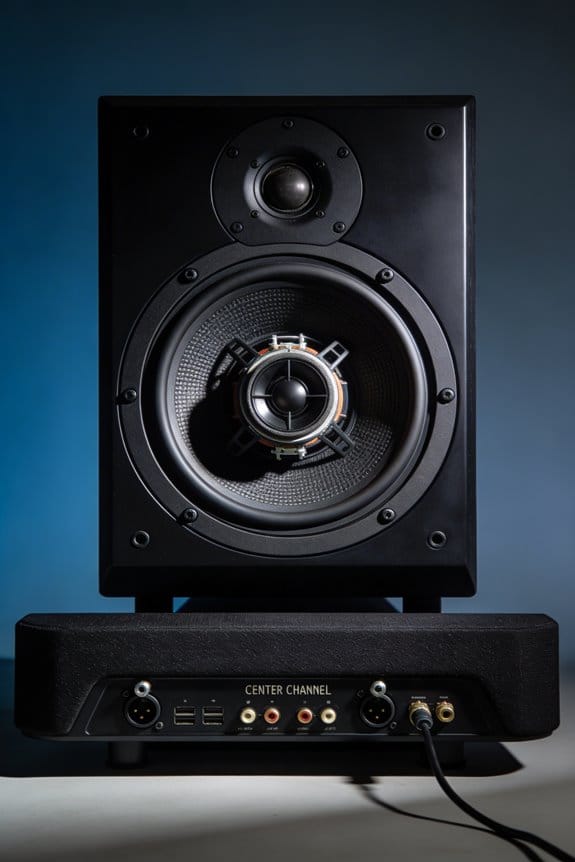
Why Your Center Channel Needs Three Drivers Instead of Two
The three-driver setup in a center channel speaker really tackles an issue that two-way designs struggle with. If you’ve ever noticed that dialogue doesn’t sound quite right, it’s usually because of how two drivers overlap and interfere with each other. With three drivers, you’ve got a dedicated midrange driver that takes care of those crucial vocal frequencies between 500Hz and 3kHz. This means clearer dialogue because the midrange operates without dealing with the bass from the woofers.
What’s cool is how the drivers are positioned. The woofers sit at the far ends, covering the lower frequencies under 250Hz. This layout minimizes issues like sound degradation that can happen with spacing. You’ll notice less comb filtering, which happens when sound waves overlap and cause muffled audio, because the crossover to woofers kicks in at a lower range, around 250-400Hz instead of the higher 2-3kHz. That vertically placed tweeter and midrange keep everything in sync, making speech clearer while the woofers lend support for bass, ensuring you don’t miss a word, no matter where you’re sitting.
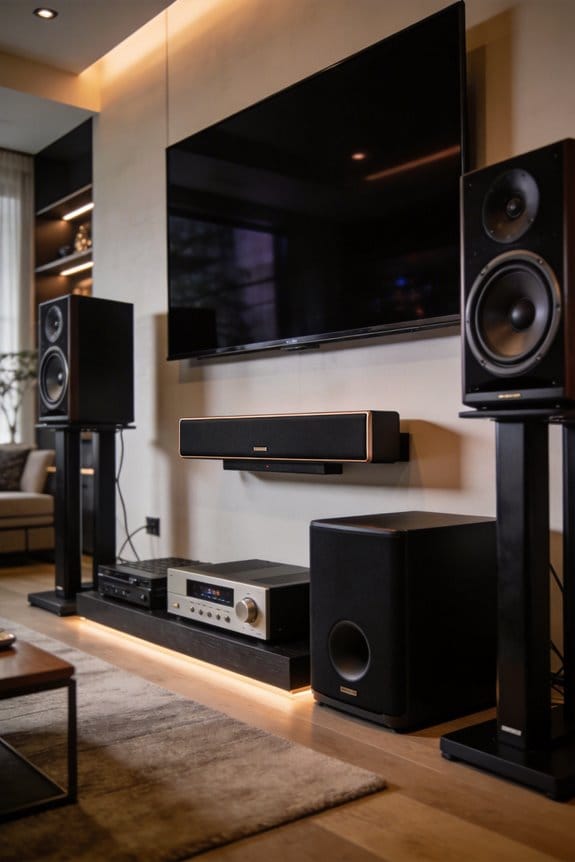
What Center Channel Specs Actually Matter: Sensitivity, Crossover, and Driver Layout
Knowing you want three drivers instead of two is just the tip of the iceberg. The real magic lies in the specifications you find on that product page. They play a huge role in whether or not the speaker will suit your space.
Sensitivity Impact on Performance
Looking for sensitivity ratings over 87dB is key. This range helps your receiver handle the speaker efficiently, keeping distortion at bay, especially when things get loud. If you go for lower sensitivity speakers, they’ll demand more power from your amplifier to reach the same volume, which can lead to strain—particularly during those intense dialogue scenes.
Driver Material Considerations
Don’t overlook the tweeter and woofer materials. Soft dome tweeters tend to soften the edges on harsh vocals, while metal domes can bring in that extra detail. For woofers, woven or treated paper is a solid choice because they deliver midrange frequencies more naturally. Why does this matter? It really impacts how voices sound, which is crucial for clear dialogue.
Crossover Frequency Settings
Try setting your crossover between 80-120Hz. This directs bass frequencies to your subwoofer, which helps in cutting down any cabinet resonances that can blur dialogue clarity. The trick here is to manage that tricky 60-90Hz range effectively.
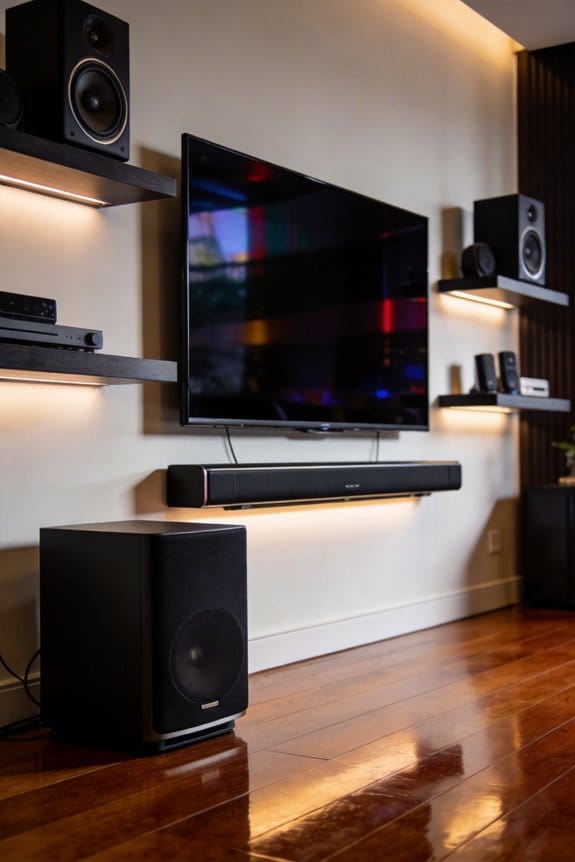
Where to Place Your Center Channel So Dialogue Sounds Clear
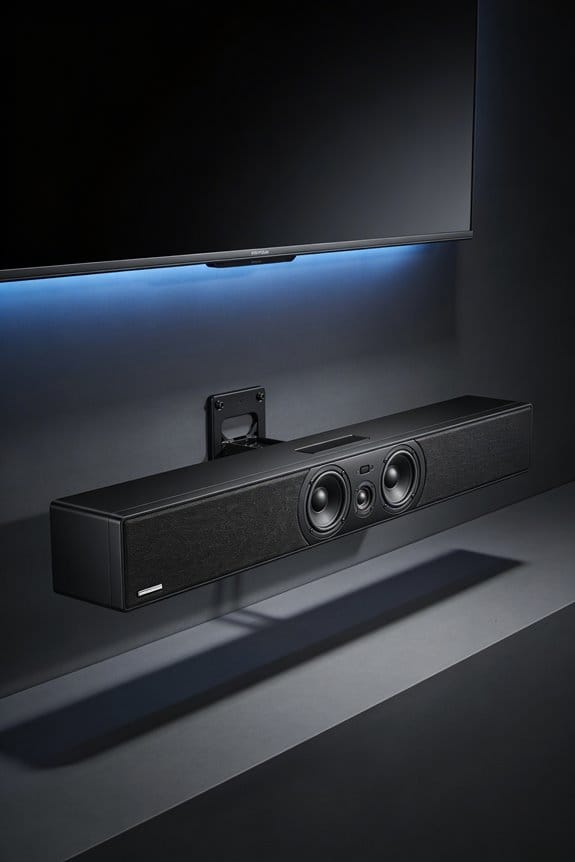
Positioning your center channel speaker can really make or break your home theater experience. Ever tried watching a movie only to find the dialogue so muffled you have to rewind? Frustrating, right? To avoid that, you want your center speaker at ear height when you’re seated, usually around 38-42 inches from the floor. Placing it directly above or below your TV is key, as it allows those sound waves to hit you straight on, making everything clear.
A little tip: Pull that speaker forward 6-12 inches from the wall or cabinets. This prevents early reflections that can mess up vocal clarity. If your speaker ends up below ear level, tilt it up using some foam wedges or an adjustable riser. And if it’s mounted above the screen, a downward tilt works, too. Keeping the speaker close to the screen helps keep the dialogue anchored visually, so you can follow along without missing a beat.
So, why does this matter? If you can get this setup right, you’ll find your movies much more enjoyable, with dialogue that cuts through the background noise perfectly. Remember, a little bit of effort in positioning goes a long way. Honestly, what’s the point of watching your favorite film if you can’t hear the dialogue properly? With just a few adjustments, you can take your viewing experience to the next level.
How to Angle and Space Your Center Channel for Perfect Vocal Alignment
Are you struggling to hear dialogue clearly while watching movies or shows? You’re not alone! Getting your center channel speaker just right can really make a difference in your home theater experience.
Angling your center channel speaker toward your primary listening position helps ensure that vocal frequencies reach your ears without interference. The goal here is to avoid anything that could mix up the sound or cause phase cancellation. If your speaker is below ear level—like under a wall-mounted TV—try using foam wedges or adjustable risers to tilt the tweeter upward by about 5-15 degrees. This little tweak makes a huge impact when you’re sitting at a height of 38-42 inches.
To really nail the vocal alignment, measure the distance from your center speaker to your main seat, then angle the entire cabinet so the tweeter is pointing right at you. If you’re someone who often sits off to the side, it might be better to keep the speaker facing straight ahead. Want to make sure the angle is just right? Grab a laser pointer or a smartphone level app to help you confirm that the tweeter is aimed at ear height. Adjust the tilt until the laser points directly to your listening spot.
So, why does this matter? Getting your center channel speaker positioned correctly can eliminate muddled dialogue and make your movie nights so much more enjoyable. Just a few adjustments can go a long way in ensuring you catch every word without straining to hear it.
In short, take the time to set up your center channel speaker properly, and you’ll wonder how you ever watched TV without clear dialogue. What adjustments are you planning to make to enhance your viewing experience?
Center Channel Crossover and EQ Settings That Eliminate Muffled Speech
Figuring out how to make dialogue clearer in your home theater can be a bit frustrating, right? It’s especially annoying when you’re in the middle of an exciting scene, and you can barely hear what characters are saying. If you’ve got your center channel speaker positioned just right, the next step is fine-tuning the crossover and EQ settings on your AV receiver.
Start by diving into the speaker configuration menu of your receiver. Set the crossover frequency somewhere between 80Hz and 120Hz. This adjustment sends the lower frequencies off to your subwoofer where they belong, cutting down on any cabinet resonances that might muddle the voices.
Now, it’s time to focus on the graphic equalizer or parametric EQ settings. Try boosting those midrange frequencies between 500Hz and 3kHz by about 2-3dB. This little tweak can really help bring the clarity back to the vocals. If the dialogue feels too boomy or hollow, consider cutting frequencies around 200-300Hz by 1-2dB.
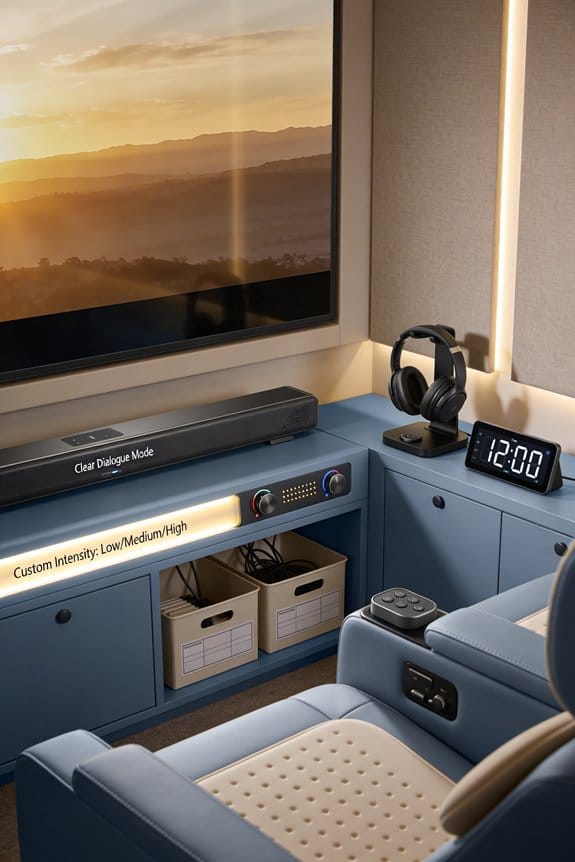
Have you tried enabling your receiver’s dialogue enhancement mode? Modes like “Clear Voice” or “Speech Lift” can automatically adjust midrange frequencies to make speech stand out more. After you’ve dialed in those EQ adjustments, run your room correction software, like Audyssey or YPAO. This should help refine the overall sound to fit your space.
In short, with a few adjustments to your settings, you should be on your way to enjoying crystal-clear dialogue. Have you found other tricks that helped improve your sound experience?
Frequently Asked Questions
Can I Use a Bookshelf Speaker Horizontally as My Center Channel?
Yes, you can, but I don’t recommend it. Horizontal speaker orientation of a bookshelf design causes lobing and comb filtering issues that degrade sound quality. A dedicated horizontal center channel with proper driver layout performs considerably better for dialogue clarity.
Should My Center Channel Match the Brand of My Other Speakers?
I’d strongly recommend center channel compatibility through speaker brand matching—your center handles 70% of your soundtrack. Matching brands guarantees identical tonal characteristics across channels, so dialogue flows seamlessly without jarring timbre shifts between left, center, and right speakers.
Is a Phantom Center Better Than a Dedicated Center Channel Speaker?
I don’t recommend phantom center over dedicated speakers. While phantom center benefits include simpler setup, dedicated speaker advantages far outweigh them—you’ll get clearer dialogue, better vocal clarity, and consistent sound across wider seating areas for movies and TV.
How Much of the Movie Soundtrack Actually Comes Through the Center?
In typical audio mixing, I’ve found that roughly 60-70% of a movie’s soundtrack distribution flows through the center channel. That’s where filmmakers route dialogue, vocals, and key front-facing sound effects to anchor the action you’re watching.
Do I Need Room Correction Software After Positioning My Center Channel?
I’d say it’s helpful but not essential after center channel positioning. Manual speaker calibration can work well, but room correction software really fine-tunes those vocal frequencies and smooths response issues you might’ve missed by ear alone.