I recommend using absorption panels in your living room if hard surfaces create excessive echoes that muddy dialogue and music, as these materials convert sound energy into heat and manage mid-to-high frequencies between 500Hz and 4kHz. Use diffusion panels if your space feels acoustically dead or lifeless, since they scatter sound waves to maintain openness without dullness. Most living rooms benefit from combining both treatments, placing absorbers at first reflection points and diffusers on rear walls, while positioning bass traps in corners to control low-frequency buildup below 250Hz for balanced sound across all frequencies.
Key Takeaways
- Absorption converts sound to heat using foam or fabric panels, controlling echoes and improving dialogue clarity in mid-to-high frequencies.
- Diffusion scatters sound waves using geometric surfaces, maintaining room liveliness and enhancing spaciousness without deadening the space.
- Combine both treatments: place absorbers at first reflection points and diffusers on rear walls for balanced, natural sound quality.
- Treat 15-25% of room surfaces, focusing on corners with bass traps and side walls with panels rather than covering everything.
- Proper placement matters more than quantity; excessive absorption creates dead zones while strategic treatment manages problem areas effectively.
How Absorption and Diffusion Work in Living Rooms
Have you ever felt frustrated during movie night because the dialogue was hard to understand? Or maybe you’ve noticed that your favorite tunes sound a bit muddled in your living room? It’s all about how soundwaves interact with your space.
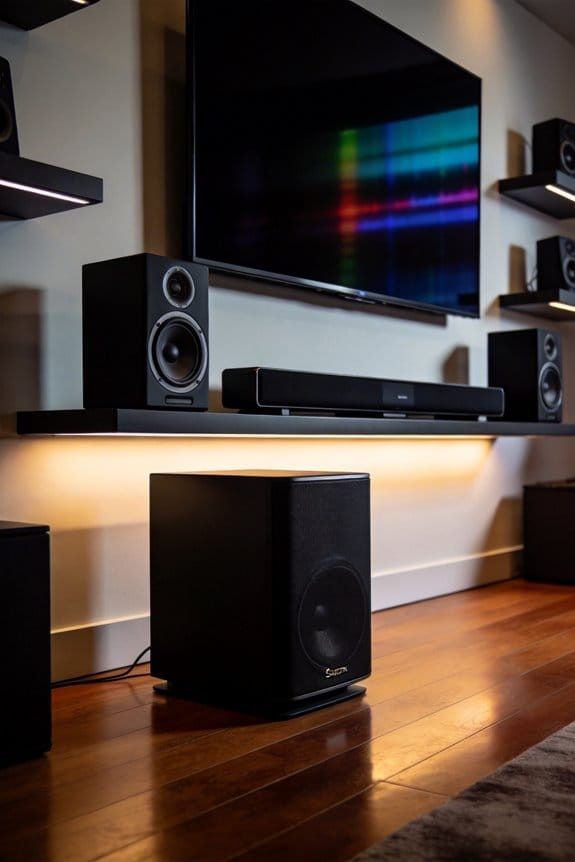
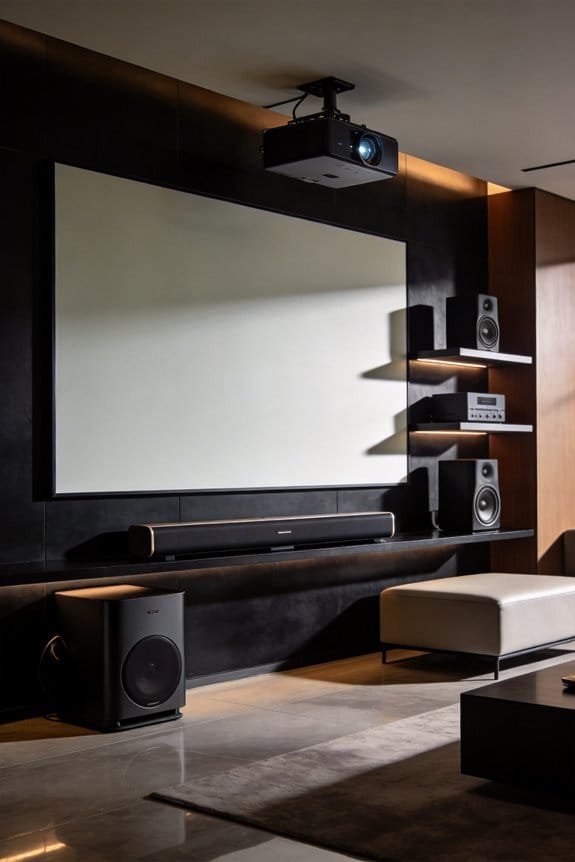
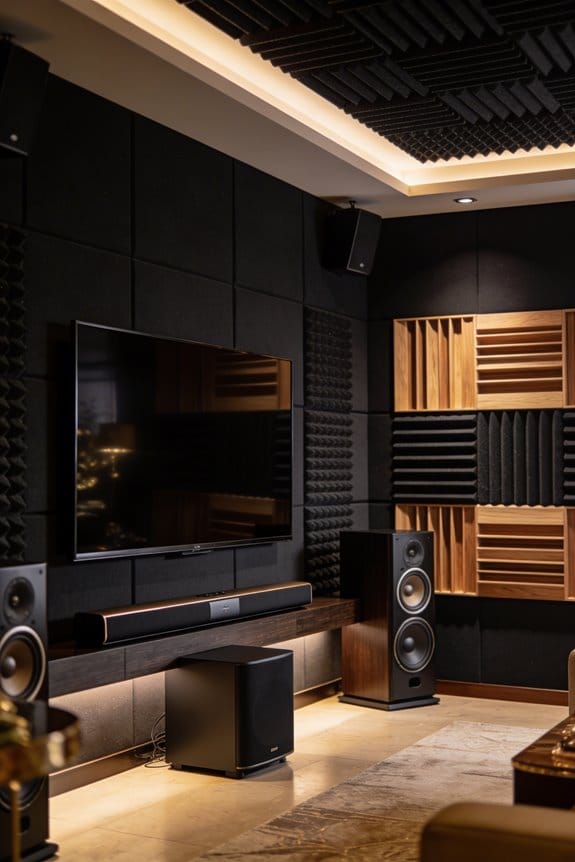
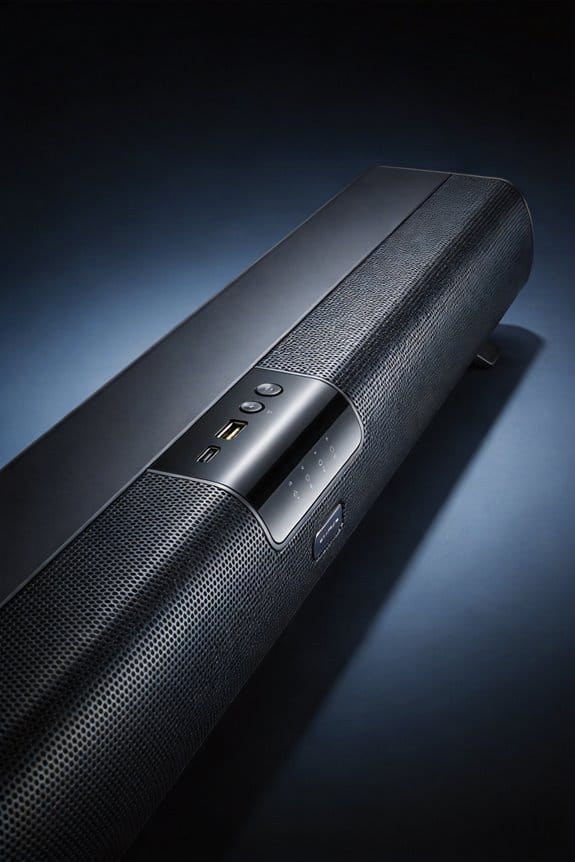
When you listen to music or watch TV, sound waves travel from the speakers, bouncing off walls and furniture before hitting your ears. The way your room manages these reflections can make all the difference. Sound absorption helps control that echo by converting sound energy into heat, using materials like foam panels, fabric-covered fiberglass, or even heavy curtains. These tools are great for taming the extra noise, especially in dealing with mid-to-high frequencies.
On the flip side, let’s talk about diffusion. This is where things get interesting. Acoustic diffusion scatters sound waves in different directions using surfaces with geometric patterns, which helps keep your space feeling open. It’s a smart way to balance acoustics without making the room feel dead or dull.
If your living room has hardwood floors, large windows, and not much furniture, it can lead to a confusing aural experience with too many reflections causing unclear sounds. Sound can bounce around like crazy, turning clear audio into a jumbled mess. So, what can you do? Try placing absorptive materials where sound waves first hit, and add some diffusive elements on the rear walls. This combination helps create a more even sound environment that’s perfect for enjoying your favorite movies.
The best part is that making these changes doesn’t have to be a large investment. Simple adjustments like rearranging furniture or adding a few key pieces can dramatically improve your listening experience.
Which Does Your Living Room Need: Absorption or Diffusion?
Now that you know how sound absorption and diffusion can change the vibe in your living room, it’s time to figure out what you really need. Take a close look at your space and consider these acoustic factors:
Choose absorption if your living room has:
- Hard surfaces like tile, hardwood, or concrete floors
- Large windows and bare walls
- Excessive echo that messes with sound clarity
- Flutter echo bouncing off those parallel walls
Choose diffusion if your living room has:
- A good amount of soft furnishings already in place
- A sound that feels dead or lifeless
- A need for more spaciousness in how audio fills the room
- An area that stretches beyond 15×15 feet
A lot of living rooms actually do well with a mix of both. Absorbers can work wonders in key reflection spots while diffusers can be set up on the back walls to keep the atmosphere alive and manage those pesky sound reflections.
Combining Absorbers and Diffusers for Balanced Living Room Sound
Is your living room feeling a bit too lively or unclear when it comes to sound? You’re not alone in wanting to create a balanced auditory environment. The good news is that you can improve your space by combining absorption and diffusion in a smart way.
Start with placing acoustic panels where sound first bounces off the walls, especially the ones on the side. That means putting 2-inch thick panels at those first reflection points, usually about 3-4 feet from the front wall. This simple step can drastically improve clarity without making the room feel dead.
Now let’s talk about the back wall. Adding diffusers—like those quadratic or skyline designs—can help scatter sound reflections. You should aim to install those around 6-8 feet behind your seating area. This keeps the sound lively while avoiding echo.
And don’t forget about the corners! Bass traps are essential for managing low-frequency buildup. You can go with either triangular or cylindrical styles, depending on what fits your space best. Truth is, this combination keeps a natural room vibe while tackling annoying echoes and ensuring your music and dialogue sound clear.
Acoustic Panels vs Bass Traps vs Diffusers for Living Rooms
Ever sit in your living room and notice how every sound just seems to bounce around? It can really mess with the vibe. To fix this, it’s important to understand the different acoustic treatments available—like acoustic panels, bass traps, and diffusers. Each serves a unique purpose, and figuring out which to use where can make all the difference.
Acoustic panels are designed to absorb those annoying mid-to-high frequencies between 500Hz and 4kHz. They’re great at tackling echo and flutter. You’ll find that they help manage sound bounce off bare walls, ease up vocal sharpness, and clear high-frequency reflections—especially during movie nights when the dialogue gets lost in the mix.
On the flip side, bass traps come into play for the lower frequencies under 250Hz. These frequencies are often where standard panels fall short, and they can lead to a muddy sound that thickens the air in your room. If you’re going to use bass traps, corner placement is key. That’s where low-frequency energy tends to build up, so putting them in those spots can help clear up that boomy sound.
Now, let’s chat about diffusers. These cool panels scatter sound waves in all directions without soaking up energy. What does that do for your space? It keeps the natural spaciousness alive while avoiding single dominant reflections, which can lead to issues like comb filtering or that annoying slap echo. So, why does that matter? Keeping a balanced sound helps you enjoy music and movies without any audio disasters.
In short, using acoustic panels, bass traps, and diffusers wisely can really enhance your living room’s sound. Think about the specific problems you’re dealing with and choose the right tool for the job. What’s one sound issue you’d love to tackle in your space?
Where to Place Acoustic Treatment in Your Living Room
Where should you put acoustic treatment in your living room to actually notice a difference? It’s essential to pick the right spots for it to be effective.
Start with the first reflection points. These are the areas where sound bounces between your speakers and your listening position. You’ll want to hang absorption panels on the side walls at ear height—aim for about 2 to 3 feet from corners. This is where sound reflection hits hardest and creating that soft space can vastly improve your listening experience.
Bass traps are another key player in your treatment setup. They’re best installed in the room’s corners, where you’ll find low frequencies tend to build up the most. If you’ve ever felt that overwhelming bass in a corner, you know exactly what I mean.
Now, let’s talk about the rear wall behind your seating area. Here’s the trick: position diffusers there. They help scatter sound waves so your space doesn’t feel deadened. You don’t want it too quiet, after all.
Furniture can also help! Think about your bookshelves, couches, and curtains—they can absorb or diffuse sound naturally and add to your overall setup. But, don’t go crazy and cover all your walls. Having some untreated surfaces is just as important; you want a good balance based on how sound behaves in your room.
So, why does this matter? A little planning can elevate your audio experience significantly. When you address those reflection points and add a few handy treatments, you’ll find the sound opens up in ways that make your home much more enjoyable.
In short, find the balance that works for your specific room. What acoustic treatment ideas might you experiment with first?
How Much Absorption and Diffusion Your Living Room Needs
When it comes to making your living room sound better, the real challenge lies in figuring out how much acoustic treatment you’ll need. It largely depends on the room’s size, shape, and how you plan to use it. Start with measuring your living room to calculate the total wall and ceiling surface area. This is your jumping-off point to determine how much treatment you should consider.
For most living spaces, think about treating 15-25% of the surface area with absorption panels, especially at key reflection points like side walls and ceiling corners. You might also want to throw in 2-4 bass traps in the corners to help manage those low frequencies. Not sure where the problem frequencies might be? A sound frequency analysis with a measurement microphone and tools like REQ Wizard can really help you identify what needs fixing.
If your room is larger than 200 square feet, consider installing 1-2 diffusion panels on the rear walls. This will keep the space feeling lively while also controlling any unwanted echoes and reflections. So, why does this matter? Good acoustic treatment can make a huge difference in how enjoyable your living room is, whether you’re watching movies, listening to music, or just hanging out.
In a nutshell, figure out your room’s dimensions, treat those key areas, and don’t overlook bass management. It’s all about creating a space where sound flows nicely without overwhelming echoes. What are your biggest challenges with sound in your living room?
Living Room Acoustic Treatment Mistakes That Worsen Sound
Even with careful planning and the right percentages of coverage, a lot of folks unintentionally make their living room sound worse. This often happens when acoustic treatments are placed incorrectly or when the wrong materials are chosen.
Common Treatment Errors
Too much absorption can turn a room into a dead zone, sounding unnatural and uncomfortable for anyone in it. I see people cover entire walls with foam panels, which eliminates all reflections instead of just managing specific problem areas. That can really wreck the vibe of your space.
Placement Mistakes to Avoid
- Installing panels randomly can lead to missed first reflection points, which are key to improving sound.
- Sometimes, absorption should take a backseat to diffusion, especially on rear walls.
- Using only thin foam may only tackle high frequencies, and that will leave you with a muffled, boomy sound.
- And don’t make the mistake of blocking corners where bass traps are supposed to go with furniture—it’s a surefire way to mess up your bass response.
Common misconceptions linger about acoustic treatment. Many believe that more is always better, thinking that throwing more treatment on the walls will lead to better sound quality. Others assume that pricey materials automatically work better than budget-friendly options, but that’s not true. Proper placement can make all the difference, regardless of the price tag.
Frequently Asked Questions
Can Curtains and Furniture Effectively Replace Dedicated Acoustic Treatment Panels?
I’d say curtains and furniture help, but they won’t fully replace dedicated panels. Curtain effectiveness is limited to high frequencies, and furniture placement offers minimal absorption. You’ll need proper acoustic treatment for balanced sound control in your living room.
Do Acoustic Treatments Reduce Outside Noise From Entering the Living Room?
No, acoustic treatments don’t block external noise—that requires soundproofing techniques like sealing gaps, adding mass to walls, or installing specialized windows. I’m addressing internal sound quality here, not external noise reduction, which needs different solutions entirely.
Will Acoustic Treatment Make My Living Room Look Less Visually Appealing?
I’d say aesthetic balance is totally achievable with modern acoustic treatments. Through thoughtful design integration, you can choose panels and diffusers in colors, textures, and styles that complement your décor rather than clash with it.
How Much Does Professional Acoustic Treatment for a Living Room Typically Cost?
Think of it as investing in silence—average pricing ranges from $500 to $5,000 depending on room size and materials. Professional installation adds $200-$1,000, though I’d say DIY saves considerably if you’re handy.
Can I Build DIY Acoustic Panels That Perform as Well as Commercial Ones?
Yes, I can confirm DIY materials like rockwool or fiberglass wrapped in fabric achieve excellent panel effectiveness comparable to commercial products. You’ll save money while getting professional-grade absorption if you follow proper density and thickness specifications for your panels.