To calibrate your home theater for console gaming, I’ll start by enabling Game Mode in your display settings to reduce input lag, then adjust brightness, contrast, and color temperature for best visuals. Next, I’ll connect your console to your surround sound system using HDMI 2.1-certified cables for Dolby Atmos support, position front speakers at ear level angled 22 to 30 degrees, and place rear surrounds 110 to 120 degrees behind you. Running auto-calibration with your receiver’s microphone will balance speaker distances and levels, which you can fine-tune for gaming-specific audio profiles that enhance your competitive advantage.
Key Takeaways
- Enable Game Mode on your display to reduce input lag and disable unnecessary image processing for responsive gameplay.
- Calibrate brightness, contrast, and color settings using test patterns to achieve vibrant visuals without motion artifacts.
- Connect your console using HDMI 2.1-certified cables to support advanced audio formats like Dolby Atmos and DTS:X.
- Position speakers strategically: front at ear level, center aligned with display, surrounds 110-120 degrees behind you.
- Run auto-calibration with your receiver’s microphone, then fine-tune speaker levels using dynamic surround sound games.
Enable Game Mode and Calibrate Console Display Settings
Are you ready to dive into some serious gaming? Before you hit that start button, there’s a key prep step you don’t want to overlook—enabling Game Mode on your TV or monitor. By doing this, you’ll cut down on input lag and limit unnecessary image processing that can interfere with your experience.
Start by pulling up your display settings from the main menu. This usually comes up when you press the Settings or Menu button on your remote. From there, head to Picture Settings. Look around for the Game Mode option and make sure to toggle it to On or Enabled. It’s a simple step that makes a huge difference.
Now that you’ve got Game Mode activated, let’s talk about calibrating those display settings. You want to adjust brightness, contrast, and color temperature to ensure you’re seeing the best visuals. After all, no one likes crushed blacks or highlights that are washed out.
Create a custom profile just for gaming by adjusting these settings while you check out test patterns or even some gameplay footage. The best part is, you’ll be able to enjoy vibrant images without losing quality or introducing annoying artifacts.
So, why does this matter? Because any extra input lag or poor picture quality can really mess with your gameplay. Trust me, you want everything running smoothly when you’re immersed in your favorite games.
To recap, enabling Game Mode and calibrating your display settings is essential for an optimal gaming experience. Are you ready to take your viewing experience up a notch?
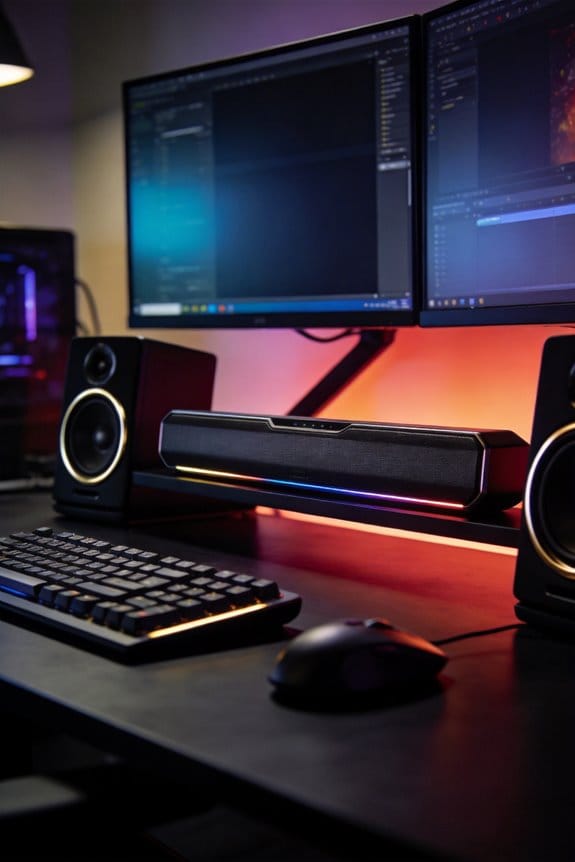
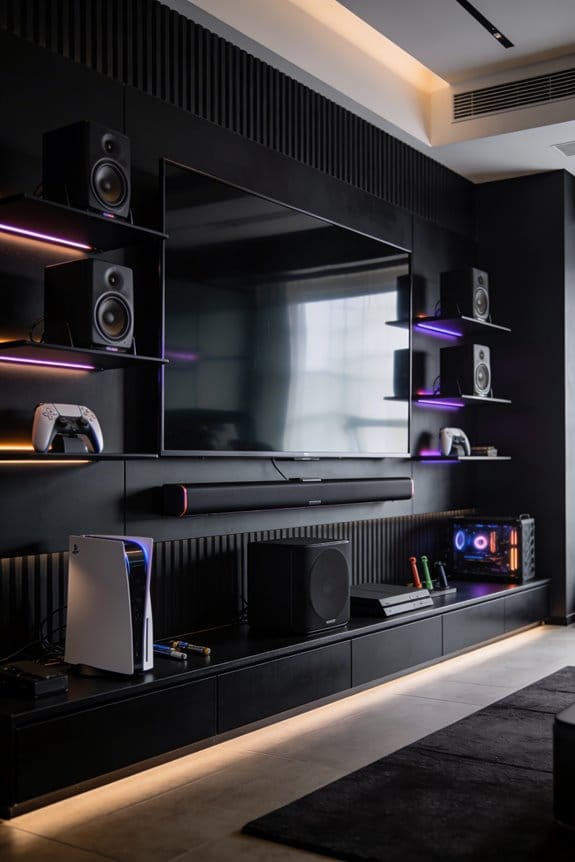
Connect Your Gaming Console to a Surround Sound System
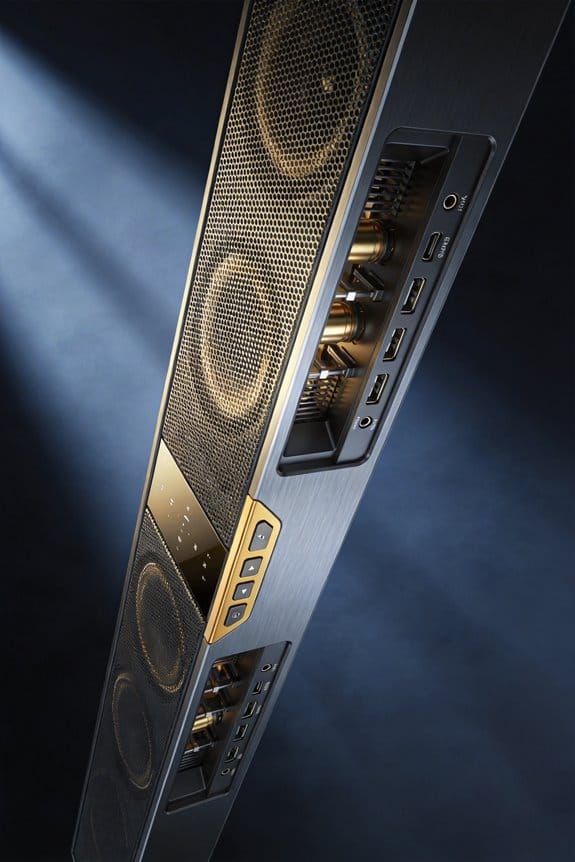
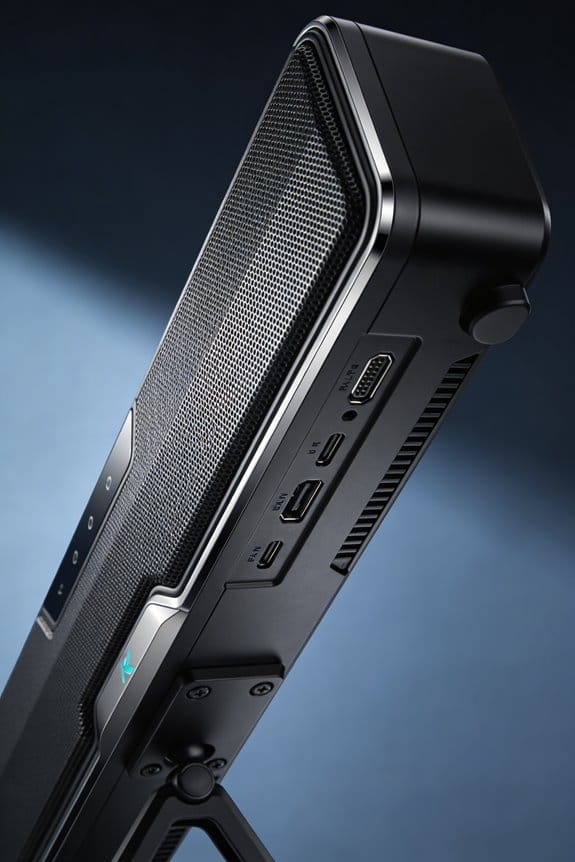
Are you struggling to get that rich, immersive audio experience from your gaming console? You’re not alone. Connecting your console to a surround sound system can really change the way you enjoy games, making every explosion and score just pop. First things first, take a look at the ports on your gaming console and audio receiver. You’ll usually find HDMI ARC, optical, or standard HDMI outputs.
For the best surround sound quality, opt for HDMI 2.1-certified cables when you’re linking up your PlayStation 5 or Xbox Series X to the receiver. These cables are great because they support cool audio formats like Dolby Atmos and DTS:X that make your games sound amazing. If you don’t have HDMI options available, an optical audio cable will also work just fine for transmitting digital surround sound.
Make sure all those connections are snug. It’s all too easy to accidentally bend a cable at a weird angle or press it against a piece of furniture. Over time, that can mess with your signal quality, and no one wants that.
So, why does this matter? A solid connection means you can truly dive into your game worlds without distractions. When everything is set up right, you’ll appreciate the finer details in sound, enhancing your overall gaming experience. It’s worth taking the time to do this correctly.
Just remember—get those connections right, and you might find yourself more immersed in your games than you ever thought possible. Have you connected your console to a surround sound system yet? If not, what are you waiting for?
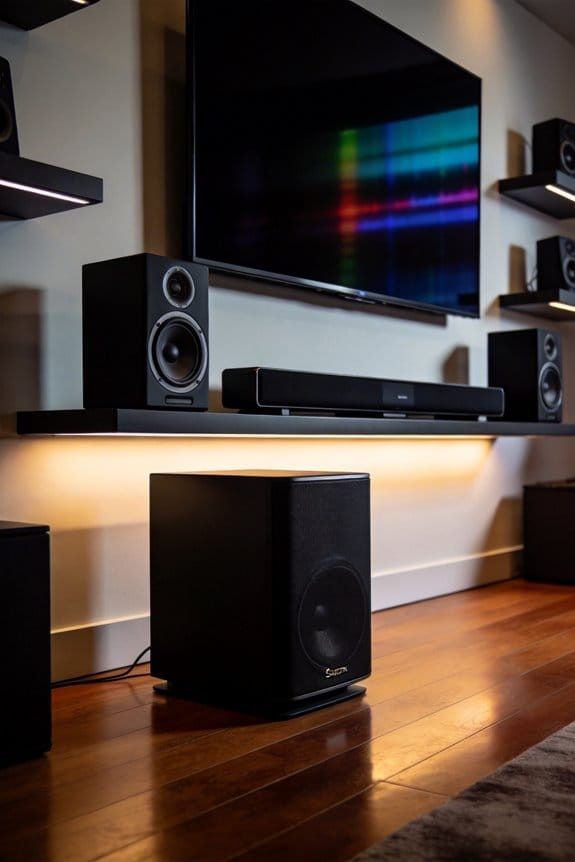
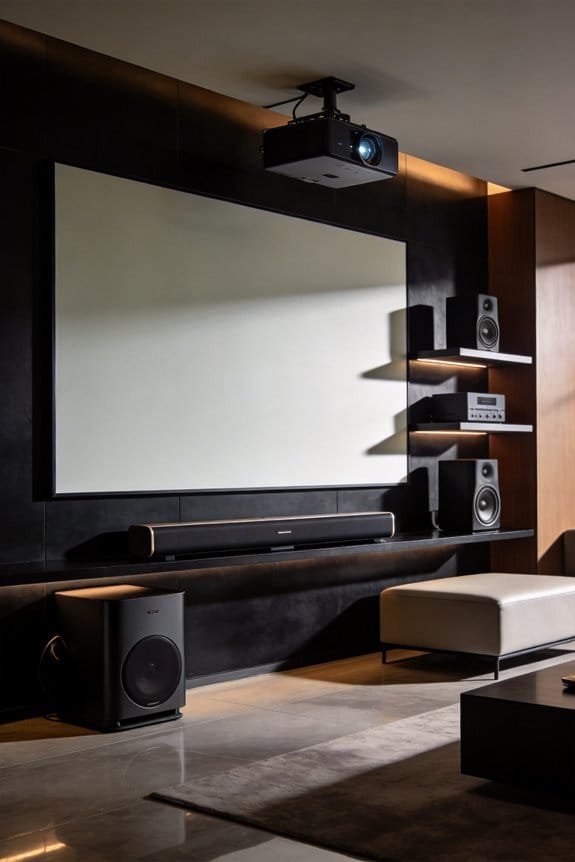
Position Speakers for Optimal Gaming Audio
Got your console hooked up to a surround sound system? Now it’s time to dive into the nitty-gritty of speaker placement to really make that audio come alive. Trust me, the right setup can turn your gaming experience from good to unforgettable.
First off, let’s talk about those front speakers. You’ll want your left and right speakers at ear level when you’re seated. Angle them 22 to 30 degrees toward where you sit when gaming. This small tweak can help draw you into the action.
The center speaker is super important too. Make sure it’s positioned right above or below your display, so it’s in line with your head height. This alignment helps ensure that dialogue and critical sound cues come through clear, making you feel like you’re right in the game.
For the rear surround speakers, aim to place them 110 to 120 degrees behind your seating position. You want them mounted slightly above ear level to create the right angles for directional sound. Imagine being in a game where you need to detect which side the enemies are coming from—correct positioning is key.
Don’t forget about the subwoofer. Keeping it too close to the room corners can muddy your bass and skew the whole audio experience. A good approach is to test different spots by blasting some bass-heavy scenes from your favorite games. Move the sub around until you find a sweet spot where the low frequencies are balanced and not too boomy.
Lastly, double-check that none of your furniture is blocking the path between your speakers and your ears. This can greatly affect the sound quality and overall immersion.
Run Auto-Calibration to Balance Your Sound System
After you’ve got your speakers in the right spots, it’s time to let your audio receiver help you out with its auto-calibration system. This step’s all about fine-tuning your sound to match the unique vibes of your room.
First things first, grab your calibration microphone and set it up right where you usually sit for gaming. That’s the sweet spot where your head’s going to be when you’re soaking in all those audio effects. Now, run the receiver’s auto-calibration program. It’ll send out test tones from each speaker to check things like distances, volume levels, and frequency response. The system works its magic by figuring out how sound waves bounce around your room, adjusting everything so you get the best sound possible.
Once you’ve gone through the process, take a moment to check out the results in your receiver’s menu. Make sure the speaker distances line up with what you measured, and that the volume levels sound balanced. Want to make sure it’s all working as it should? Test it out with a game that has surround sound—this will give you a real feel of whether all channels are doing their job and that the audio is truly immersive.
Fine-Tune Volume Levels and Test Your Setup
Once you finish auto-calibrating, it’s time to get in there and make those volume levels just right for your gaming vibe. Head over to your receiver’s speaker level menu and check out the test tones feature. This handy function cycles through all your speakers, letting you listen closely as each one plays its part. Pay attention—no channel should drown out the others. Most receivers let you tweak adjustments in 0.5 dB increments, which means you can really hone in on that balanced audio output.
After you’ve fine-tuned everything, grab a game that’s known for its dynamic surround sound. Think titles with plenty of action, like one filled with explosions, dialogues, and rich ambient effects. Play for around 15 to 20 minutes, and make sure every speaker shines on its own, producing clear sounds without any distortion or weird imbalances. Before you finalize your settings, it’s worth ensuring your setup hits all the right notes.
Frequently Asked Questions
Should I Upgrade to HDMI 2.1 Cables for My Gaming Console?
Yes, I’d recommend upgrading to HDMI 2.1 cables for your gaming console. They’ll support 120Hz refresh rates at 4K resolution, plus features like VRR and ALLM, ensuring you’re ready for current and future gaming demands.
Which Adaptive Sync Technology Works Better for Console Gaming Performance?
While you might think adaptive sync doesn’t matter for consoles, I’d recommend enabling Variable Refresh Rate features for latency reduction. They eliminate screen tearing when frame rates fluctuate, delivering smoother gameplay even during intense action sequences.
Can I Use Wireless Speakers Instead of Wired for Surround Sound?
Yes, you can use wireless speakers for surround sound. I’d recommend checking if your receiver supports wireless audio transmission. While convenient for reducing cable clutter, wired connections typically offer better sound quality and lower latency for gaming.
How Often Should I Update My Audio Receiver’s Firmware?
I recommend checking for firmware updates every 3-6 months to maintain audio receiver compatibility with new gaming consoles and formats. I’ll set calendar reminders since manufacturers release updates addressing bugs and improving performance regularly throughout the year.
What Surround Sound Channel Configuration Is Best for Gaming Immersion?
I’d recommend starting with 5.1 surround sound formats for solid gaming immersion. Proper channel placement matters more than speaker quantity—position your speakers at ear level around your seating area, and you’ll experience excellent spatial audio awareness.